How to Change Spark Plug on Craftsman Snowblower?
If your Craftsman snowblower isn’t starting like it used to, the spark plug might be the problem. Changing the spark plug is a simple fix that can save you time and money.
In this guide, you’ll learn exactly how to change the spark plug on your Craftsman snowblower, step by step. By the end, you’ll feel confident to tackle this quick maintenance task yourself and keep your snowblower running strong all winter long.
Let’s get started and make sure your machine is ready for the next snowfall!

Credit: www.searspartsdirect.com
Tools And Materials Needed
Changing the spark plug on your Craftsman snowblower needs the right tools and materials. Having everything ready makes the job easier and faster. It also helps you avoid mistakes that can damage the engine.
Gathering these items before starting saves time. Each tool has a specific role in the process. Using proper materials ensures the snowblower runs smoothly after the change.
Essential Tools For The Job
- Spark plug socket wrench
- Ratchet handle
- Extension bar (optional, for hard-to-reach plugs)
- Gap gauge or feeler tool
- Torque wrench (recommended for correct tightening)
- Clean rag or cloth
- Screwdriver (to remove covers if needed)
Materials Needed
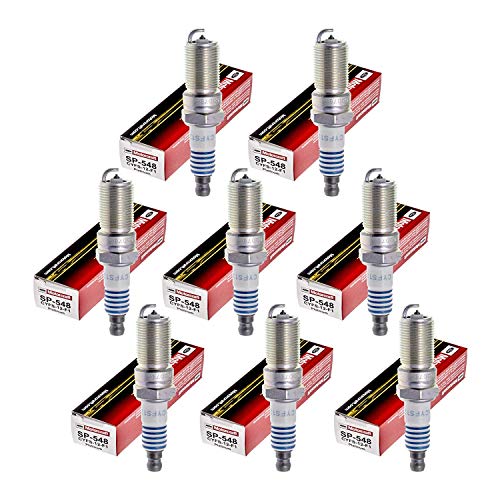
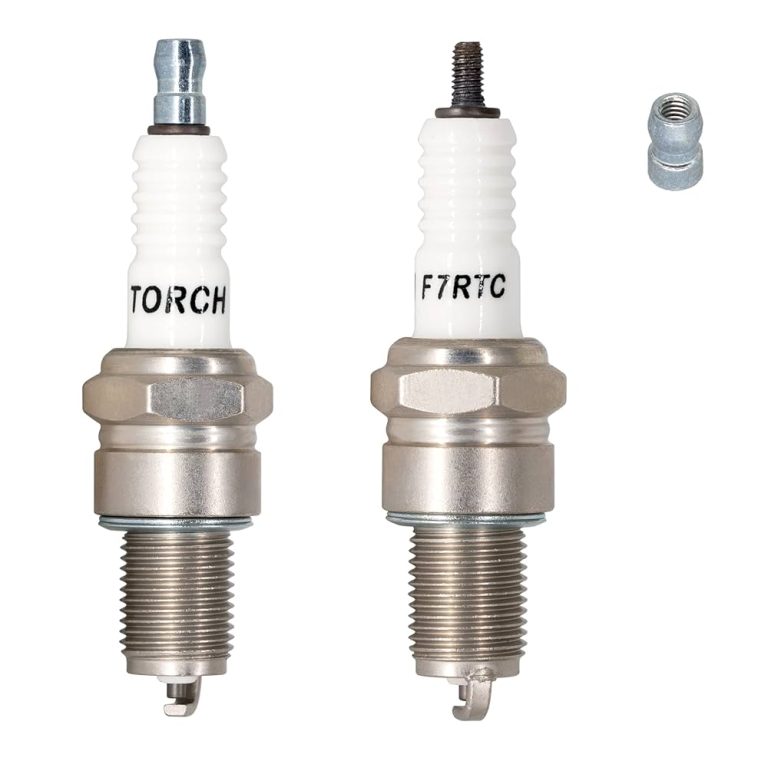
- Replacement spark plug (check model and specs)
- Anti-seize compound (optional, for easy future removal)
- Dielectric grease (for spark plug boot protection)
Safety Equipment
- Work gloves to protect your hands
- Safety glasses to shield your eyes

Credit: www.searspartsdirect.com
Preparing The Snowblower
Start by turning off the snowblower and disconnecting the spark plug wire. Clean the area around the spark plug to prevent dirt from entering the engine.
Preparing the Snowblower Before diving into replacing the spark plug on your Craftsman snowblower, it’s crucial to prepare the machine properly. Proper preparation ensures that the task is not only efficient but also safe. A little organization upfront can save you time and potential headaches down the road.Ensure Safety
Safety should always be your top priority. Begin by disconnecting the spark plug wire to prevent any accidental starts. Make sure the snowblower is on a flat, stable surface to avoid tipping over during maintenance. Wear protective gloves to protect your hands from sharp or hot parts. It’s also wise to ensure the machine is cool to the touch before starting any work. Ask yourself: is there anything else that could compromise your safety?Locate The Spark Plug
Finding the spark plug on your Craftsman snowblower is simpler than you might think. Look for the engine cover, typically positioned on the side or top of the snowblower. Once located, remove the cover to access the spark plug. The spark plug is usually housed in a small metal casing, easily identifiable by the attached rubber spark plug wire. Take a moment to visualize the steps involved—it’s all part of making the process smooth and hassle-free. By thoroughly preparing your snowblower, you’re setting the stage for a straightforward spark plug replacement.Removing The Old Spark Plug
Removing the old spark plug from your Craftsman snowblower is a straightforward task that sets the stage for better engine performance. It’s important to handle this step carefully to avoid damaging the engine or the spark plug itself. Taking your time here ensures that the new plug fits correctly and your snowblower runs smoothly.
Disconnect The Spark Plug Wire
Before touching the spark plug, make sure the snowblower is completely off and cool to the touch. Locate the spark plug wire attached to the top of the plug—this wire carries the electrical charge needed to ignite the fuel.
Grip the boot firmly and pull it straight off the spark plug. Avoid pulling on the wire itself, as this can cause damage. Have you ever tried yanking the wire and ended up with a loose connection? It’s best to be gentle here.
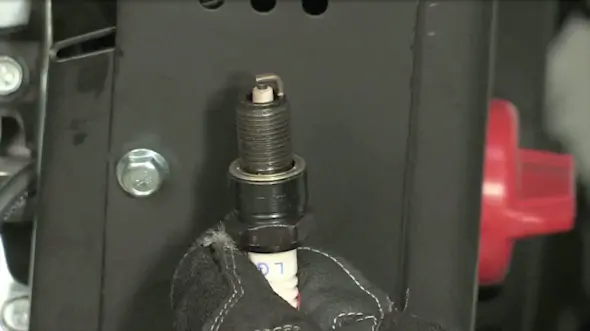
Use The Spark Plug Socket
Next, grab your spark plug socket—a special tool designed to fit snugly over the plug and provide the leverage needed to loosen it. Attach the socket to a ratchet wrench for easier turning.
Place the socket over the spark plug and turn it counterclockwise. It might feel tight at first, but steady pressure works better than force. If it doesn’t budge, try applying a little penetrating oil and wait a few minutes before trying again.
Inspecting The Spark Plug
Inspecting the spark plug is a key step in maintaining your Craftsman snowblower. It helps ensure the engine runs smoothly and starts easily. A quick check can prevent bigger problems and save repair costs.
Take the spark plug out carefully. Look closely at its condition. This simple inspection gives clues about the engine’s health and what to do next.
Check For Wear And Deposits
Look at the spark plug’s tip and sides. Check for:
- Black, oily deposits
- White or gray ash buildup
- Worn or rounded electrodes
- Cracks in the ceramic insulator
- Corrosion or rust on the metal parts
Any of these signs can affect the spark plug’s performance. Deposits can stop the spark from firing correctly. Worn parts reduce the engine’s power and efficiency.
Determine If Replacement Is Necessary
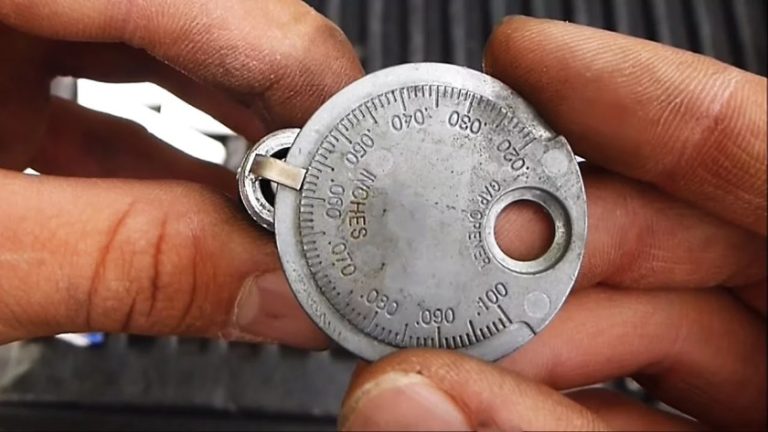
Check the spark plug gap with a feeler gauge. The gap should match the snowblower’s manual. A gap too wide or narrow can cause misfires.
Replace the spark plug if you see:
- Heavy deposits or damage
- Cracks or broken insulator
- Excessive electrode wear
- Persistent engine starting problems
Using a new spark plug improves engine start-up and fuel efficiency. Regular inspection and timely replacement keep your snowblower ready for winter tasks.
Installing The New Spark Plug
Installing the new spark plug on your Craftsman snowblower is a critical step that ensures smooth engine performance and reliable starts. Paying close attention to how you place and secure the plug can save you from future headaches. Let’s break down the process into manageable parts to get this right.
Set The Correct Gap
Before installing the spark plug, check the gap between the electrodes. The correct gap allows the spark to jump properly and ignite the fuel-air mixture efficiently.
Use a spark plug gap tool to measure this distance. Refer to your snowblower’s manual for the exact measurement—usually around 0.030 to 0.035 inches.
If the gap is off, gently bend the ground electrode until you reach the right size. Don’t force it too much; a damaged electrode can cause misfires.
Thread The Plug Carefully
Start threading the spark plug by hand to avoid cross-threading, which can damage the engine’s cylinder head. It’s tempting to use a wrench right away, but slow and steady wins here.
If you feel resistance, back it off and try again. The plug should screw in smoothly with just finger pressure initially.
This careful approach protects your investment and prevents costly repairs down the line.
Tighten To Proper Torque
Once the spark plug is threaded correctly, tighten it with a torque wrench to the manufacturer’s specifications. Over-tightening can strip the threads, while under-tightening risks a loose connection and poor performance.
If you don’t have a torque wrench, a good rule of thumb is to tighten the plug about a quarter turn past finger tight. However, investing in a torque wrench pays off in precision and peace of mind.
Think about how often you rely on your snowblower; ensuring the spark plug is tightened properly keeps it ready for the toughest winter days.
Reconnecting And Testing
After replacing the spark plug, reconnecting and testing are key to ensure proper operation. This step confirms the spark plug is installed correctly and the snowblower is ready to work.
Take time to attach the spark plug wire securely. This connection allows electricity to flow and ignite the engine smoothly.
Attach The Spark Plug Wire
Find the spark plug wire and gently push it onto the new spark plug’s terminal. It should snap on with a firm click. Avoid pulling or twisting the wire too hard. A loose connection will stop the engine from starting. Check the wire for any cracks or damage. Replace the wire if needed for a strong spark.
Start The Snowblower
Move to a clear outdoor area to start the snowblower safely. Turn the key or pull the starter cord as usual. The engine should run smoothly without sputtering or stalling. If it does not start, recheck the spark plug wire and connections. Listen for steady engine sounds and check for any unusual noises. Testing confirms the spark plug is working and your snowblower is ready for snow removal.
Maintenance Tips
Proper maintenance keeps your Craftsman snowblower running smoothly. Regular care extends the machine’s life and improves performance. Focus on the spark plug, a key part for starting and engine function. Follow these tips to maintain it well.
Regular Spark Plug Checks
Check the spark plug every season before use. Look for dirt, corrosion, or wear on the electrode. Clean with a wire brush if dirty. Replace the spark plug if it shows cracks or heavy deposits. Ensure the gap between electrodes matches the manual’s specifications. A clean, properly gapped spark plug ensures easy starting and efficient running.
Storage Recommendations
Prepare your snowblower for storage after winter. Remove the spark plug and add a few drops of oil inside the cylinder. Pull the starter a few times to spread oil. Reinstall the spark plug to prevent rust. Store the machine in a dry, sheltered place. Keep it away from moisture and dust to protect all parts, including the spark plug.

Credit: www.searspartsdirect.com
Frequently Asked Questions
How Often Should I Change Spark Plugs On Craftsman Snowblower?
Change spark plugs yearly or after 100 hours of use. Regular replacement ensures better engine performance and easier starts.
What Tools Are Needed To Change Craftsman Snowblower Spark Plug?
You need a spark plug socket, ratchet wrench, and a gap gauge. These tools help safely remove and install the spark plug.
How To Safely Remove The Spark Plug On Craftsman Snowblower?
Turn off the engine and disconnect the spark plug wire. Use a spark plug socket to carefully unscrew and remove the spark plug.
What Spark Plug Gap Is Recommended For Craftsman Snowblower?
Set the spark plug gap to 0. 030 inches. Proper gap ensures efficient combustion and smooth engine operation.
Conclusion
Changing the spark plug on your Craftsman snowblower keeps it running well. A clean, working spark plug helps start the engine easily. Follow the steps carefully to avoid mistakes. Regular checks prevent bigger problems later. A small task that saves time and money.
Now, your snowblower is ready for winter work. Simple care makes a big difference. Try it yourself and feel more confident with your machine.

Automotive Specialist & Expert Writer
Tyler Kingston is a passionate automotive writer with a wealth of knowledge in all things cars. With years of experience in the automotive industry, Tyler specializes in everything from vehicle maintenance to the latest car technologies and innovations. He is known for his ability to break down complex automotive concepts into easily digestible, engaging content for both novice and experienced car enthusiasts. Whether it’s detailing car repair techniques, reviewing new car models, or diving into the world of auto accessories, Tyler’s articles provide valuable insights to readers. His hands-on experience, combined with a genuine love for cars, allows him to deliver expert advice, tips, and news that keeps readers coming back for more.