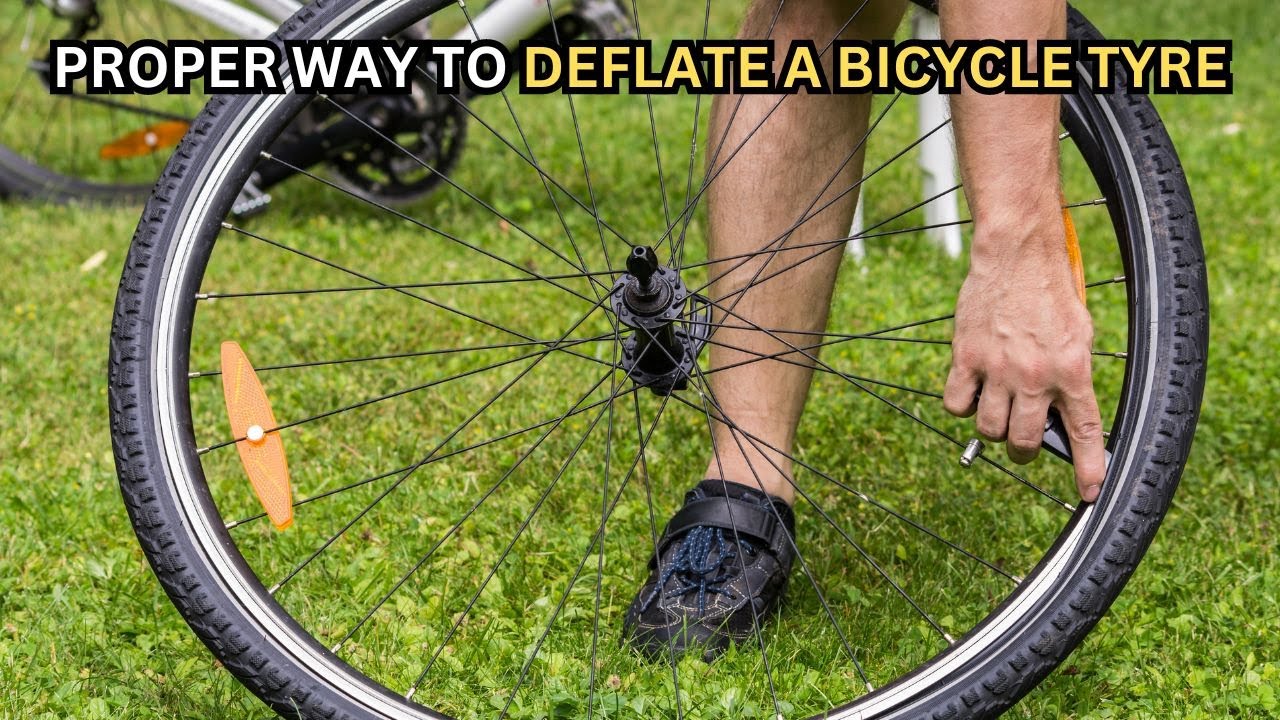
How to Deflate a Bicycle Tire: Quick & Easy Steps
Have you ever found yourself needing to deflate a bicycle tire but weren’t quite sure where to start? Whether you’re fixing a flat, packing your bike for travel, or adjusting the pressure for a smoother ride, knowing how to properly deflate a tire is a handy skill.
Imagine the confidence you’ll feel as you effortlessly tackle this task, saving time and potential frustration. In this guide, you’ll discover simple, step-by-step instructions to deflate your bicycle tire with ease. By the end, you’ll wonder why you ever hesitated.
Let’s dive in and make this task as straightforward as a leisurely ride in the park!

Credit: www.youtube.com
Gather Necessary Tools
Begin by collecting essential tools like a tire lever and a valve adapter. A pump might be needed for later use. Having these ready ensures a smooth tire deflation process.
When you’re planning to deflate a bicycle tire, the process can seem straightforward, but having the right tools can make it much easier and more efficient. You don’t want to find yourself halfway through the job only to realize you’re missing something crucial. Preparing your tools beforehand can save you time and prevent unnecessary frustration. This step is essential whether you’re at home or on the road, so let’s look at what you’ll need to gather.1. Prepare A Tire Lever
A tire lever is a simple tool that helps you remove the tire from the rim. While you might be tempted to use a screwdriver, a tire lever is designed specifically for this task and won’t damage your tire or rim. Having a couple of these on hand will make the job much easier.2. Get A Valve Core Remover
A valve core remover is essential if your bike uses Schrader valves. This tool allows you to remove the valve core to let out the air quickly. It’s a small, inexpensive tool that fits easily into any toolkit. Have you ever tried deflating a tire only to spend minutes pressing on the valve? This tool changes that.3. Secure A Patch Kit (optional)
While not necessary for deflating, having a patch kit ready can save you a trip to the store if you discover a puncture. It’s always wise to check the tire for any damage once deflated. Imagine being miles away from home and realizing you need a patch but don’t have it. Better safe than sorry!4. Keep A Clean Cloth Handy
A clean cloth can be surprisingly useful. It helps clean any dirt or debris from the tire and rim. It also keeps your hands clean, making the process more pleasant. Have you ever noticed how much easier a task becomes when you’re not dealing with grime?5. Have A Notebook And Pen (optional)
This might sound odd, but jotting down any observations about your tire’s condition can be helpful. If you notice uneven wear or damage, it’s good to record it for future reference. This way, you’re not relying solely on memory the next time you need to tend to your bike. Gathering these tools is a simple yet crucial step that ensures your tire deflation process is smooth and hassle-free. Are you ready to start deflating like a pro?Locate The Valve
Find the valve on your bicycle tire before deflating. Typically, it’s a small metal or rubber piece sticking out. Ensure it’s accessible and ready for air release.
Locating the valve on your bicycle tire is the first step in ensuring a smooth deflation process. Whether you’re preparing for a tire repair or packing your bike for travel, knowing exactly where to find the valve is crucial. Without this knowledge, you might fumble around and waste precious time.Identify The Type Of Valve
Bicycle valves generally come in two types: Schrader and Presta. Schrader valves are similar to those found on car tires, typically wider and equipped with a spring mechanism. Presta valves, on the other hand, are thinner and often found on higher-end bikes. Take a moment to examine your tire. Does it have a wider valve with a spring inside? Or is it a slim, threaded valve with a small nut on top? Knowing the difference will guide you in the deflation process.Check The Location On The Rim
Once you’ve identified the type of valve, you need to find its location on the rim. Valves are usually positioned at the center of the wheel’s rim. However, depending on your bike model, the placement might vary slightly. Spin your wheel slowly and watch for the valve. It might be hidden under a dust cap, which protects it from dirt and debris. Remove the cap to access the valve.Ensure Accessibility
Make sure the valve is accessible and easy to reach. If your bike is leaning awkwardly or if the valve is positioned near the ground, adjust its position. You might need to lift the bike or rotate the wheel to get a clear view. This small adjustment can make the deflation process much more straightforward. Have you ever struggled to locate the valve in a hurry? This simple task can become frustrating if you’re racing against time. By taking a few seconds to familiarize yourself with your tire’s valve, you can save yourself from unnecessary stress.Release Air From Presta Valve
Learning how to release air from a Presta valve is essential. This valve type is common on road bikes and some mountain bikes. Properly deflating your tire can help with transport or maintenance. Let’s explore the simple steps to release air efficiently.
Unscrew Valve Cap
First, find the small cap on the top of the Presta valve. This cap protects the valve from dirt and damage. Twist it counterclockwise to remove it. Keep it safe as you’ll need it later.
Loosen Valve Core
Next, identify the small nut at the valve’s tip. This is the valve core. Turn the nut counterclockwise a few times. This action loosens the core, allowing air to escape.
Press To Release Air
Now, gently press the valve core with your finger. You will hear the air hissing out. Hold the pressure until the tire reaches the desired softness. Check the tire by squeezing the sides for firmness.
Release Air From Schrader Valve
Deflating a bicycle tire may seem tricky, but it’s simple with the right steps. The Schrader valve is common on most bikes and makes releasing air easy. Understanding how to handle this valve ensures a smooth tire deflation process. Follow the steps below to safely release air from a Schrader valve.
Remove Valve Cap
Start by unscrewing the valve cap on your bike tire. The cap protects the valve from dirt and debris. Keeping it clean ensures easy air release. Use your fingers to twist the cap counterclockwise. Set the cap aside in a safe spot.
Depress Valve Pin
Locate the small pin inside the valve. This pin is crucial for releasing air. Use a small tool, like a pen, to press it down gently. Hold the pin down to let the air escape. You will hear a hissing sound as the air releases. Stop pressing when enough air is out.
Check For Complete Deflation
Deflating a bicycle tire seems straightforward, but ensuring it’s completely deflated is crucial. Whether you’re preparing to change an inner tube or packing your bike for travel, you don’t want any surprises. Imagine thinking your tire is fully deflated, only to have it pop unexpectedly! Let’s explore how you can be sure your tire is truly deflated.
Squeeze The Tire
Start by giving your tire a firm squeeze. Feel for any remaining resistance. A fully deflated tire should feel soft and pliable, almost like squeezing a sponge.
If you detect any firmness, there’s still some air lingering inside. Even a small amount can make it tricky to remove or pack the tire. With experience, you’ll quickly learn how a fully deflated tire feels.
Listen For Remaining Air
Now, bring your ear close to the valve and listen. Any faint hissing sound is a telltale sign that air is still escaping. It’s easy to overlook, especially if you’re in a noisy environment.
Rotate the wheel slowly while keeping your ear near the valve. Sometimes shifting the tire can reveal hidden air pockets. Have you ever missed that subtle hiss and struggled with a stubborn tire?
Checking for complete deflation is about attention to detail. By squeezing the tire and listening carefully, you ensure your biking tasks go smoothly. How do you make sure your tires are fully deflated? Share your tips in the comments!

Credit: www.wikihow.com
Store The Valve Cap
Deflating a bicycle tire is not just about releasing air. It’s also about maintaining small components like the valve cap. This small piece plays a crucial role in keeping the valve clean and free from dust. Many people often overlook storing the valve cap properly. Doing so can lead to losing it. Here’s why it’s important and how to store it safely.
Why Keep The Valve Cap Safe?
The valve cap protects the valve stem. It keeps dirt and moisture out. Without it, debris can enter and cause damage. This could lead to a flat tire or air leakage.
Where To Store The Valve Cap?
Consider placing it in a small bag. You can use a pocket or a bike tool kit. This way, it’s always accessible and secure.
Remember Its Importance
A missing valve cap might seem minor. Yet, it can prevent bigger problems in the future. Always store it carefully. Ensure it’s not misplaced after deflating the tire.
Keep It Consistent
Make it a habit to store the cap each time. Consistency helps in remembering. It also ensures the cap remains in good condition for longer.
Inspect The Tire
Before deflating a bicycle tire, it’s essential to inspect it thoroughly. A well-examined tire ensures safety and performance. Identifying issues early can prevent further damage. This process can also save time and effort during repairs.
Look For Damage
Check the tire for visible cuts, punctures, or bulges. Turn the wheel slowly and examine the entire surface. Look closely at the sidewalls for cracks or wear. Even small damages can lead to bigger problems. If you notice any suspicious marks, take note.
Prepare For Repair Or Replacement
Once you’ve identified potential issues, decide on the next steps. If the damage is minor, a patch might suffice. For more significant issues, consider replacing the tire. Gather the necessary tools for the task. A prepared cyclist is always ready for any situation.

Credit: www.wikihow.com
Frequently Asked Questions
How Do You Deflate A Bike Tire?
To deflate a bike tire, locate the valve. Press the valve core with a tool or your finger. Air will escape. Ensure the tire is completely flat before removing it. Always handle the valve gently to avoid damage. Store the bike with deflated tires properly to maintain tire shape.
How To Release Air Out Of A Tire?
Use a valve stem tool to press the valve pin gently. Air will start escaping from the tire. Listen for hissing sound to ensure air is releasing. Adjust pressure to desired level. Check tire pressure using a gauge for accuracy.
Why Won’t My Bike Tire Deflate?
Your bike tire might not deflate due to a proper seal or intact valve. Check for slow leaks or punctures. Ensure the tire is correctly mounted on the rim. Regular maintenance helps maintain tire integrity.
How To Deflate A Tire Without A Tool?
Press the valve core pin using a stick or small stone to release air. Be cautious and gentle. Monitor the pressure to avoid over-deflating. Ensure safety by keeping hands away from the tire’s path.
Conclusion
Deflating a bicycle tire is simple and quick. You just need the right tools. Follow the steps carefully. Ensure the valve is accessible. Release air smoothly for safety. Check tire pressure after deflation. Store your bike properly to avoid damage.
Knowing how to deflate saves time and effort. Share these tips with fellow cyclists. Everyone should know this basic skill. It enhances your cycling experience. Troubles can be avoided with proper tire care. Keep your bike ready for the next ride.
Regular maintenance ensures a smoother journey. Happy cycling!

Ethan Montgomery is the administrator of carweldhub.com and an expert in the automotive industry. With hands-on experience in welding and a deep understanding of automotive parts and accessories, Ethan brings a wealth of practical knowledge to his work. His passion for the automotive field extends to blog writing and editing, where he shares valuable insights and tips with enthusiasts and professionals alike. Whether you’re looking for detailed technical advice or the latest trends in automotive technology, Ethan’s expertise makes him a trusted resource in the automotive community.