How Do I Restore My Headlights: Easy DIY Guide
Have your car’s headlights lost their shine, making night driving a bit of a challenge? You’re not alone.
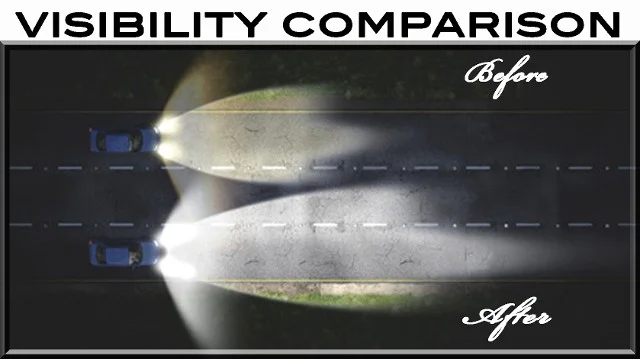
Over time, headlights can become cloudy or foggy, reducing visibility and leaving you feeling less confident on the road. But what if you could restore them to their former glory without spending a fortune? Imagine driving with crystal-clear headlights that light up the night, keeping you safe and enhancing your car’s appearance.
In this guide, we’ll walk you through simple, effective steps to restore your headlights, ensuring you get the best results with minimal effort. Stick with us, and you’ll soon enjoy a brighter, safer drive.
Tools And Materials Needed
Restoring your car’s headlights can bring clarity and shine back to them. You don’t need to be a car expert to do this. With the right tools and materials, it’s a task anyone can handle.
Tools Required
You will need a few basic tools. A soft cloth is essential for wiping and cleaning. Sandpaper will help smooth the surface. Choose a fine grit for better results.
Materials Needed
Besides tools, gather some materials. A headlight restoration kit is a great start. It often includes everything you need. You will also need water. It helps with the sanding process.
Safety Gear
Safety is important. Wear gloves to protect your hands. Eye protection is also a good idea. This ensures no debris harms you.
Optional Items
Consider having some tape. It can protect the car’s paint. Masking tape works well. Use it around the headlights.
Preparation Steps
Start by gathering materials like sandpaper, polishing compound, and a clean cloth. Clean the headlights with soapy water and dry completely. Use sandpaper to gently remove oxidation, then apply polishing compound for a clear finish.
Restoring your headlights ensures safer driving at night. Proper preparation is key. This process starts with cleaning and taping off areas around your headlights. These steps prevent damage and ensure a smooth restoration. Follow these simple steps for a successful headlight restoration.Cleaning The Headlights
Begin by washing the headlights with soap and water. Use a sponge or cloth to remove dirt. Dry them with a clean towel. Check for any debris or insects stuck on the surface. Use a soft brush to remove stubborn dirt gently. Avoid scratching the headlight surface while cleaning. Scratches can worsen the clarity.Taping Off Surrounding Areas
Use painter’s tape around your headlights’ edges. This protects your car’s paint during restoration. Ensure the tape is firmly attached. Cover other areas close to the headlights with newspaper. This prevents accidental damage or staining. Double-check the taped areas before proceeding further.Restoration Methods
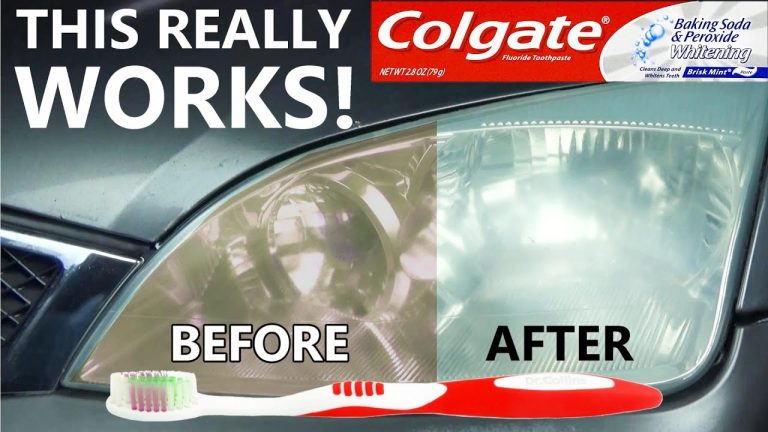
Brighten your car’s headlights with simple restoration methods. Clean with soapy water, then polish using toothpaste or baking soda. Finish with a UV-resistant sealant for lasting clarity.
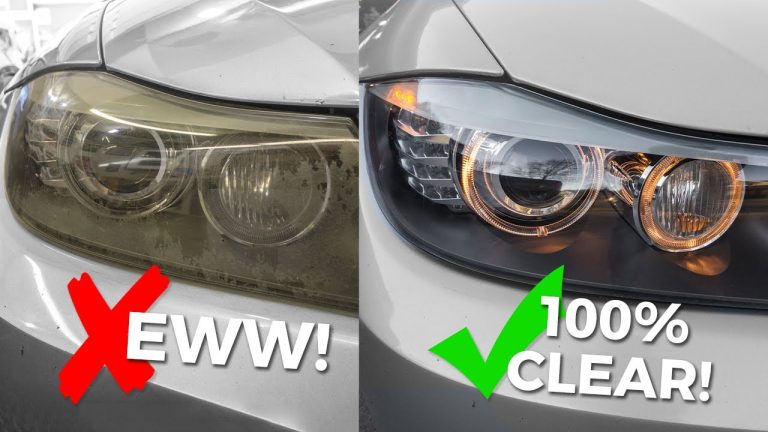
Restoring your headlights can dramatically improve your car’s appearance and safety. Over time, exposure to sunlight and debris can make headlights foggy and less effective. Luckily, you can restore them using several methods. Let’s dive into some practical approaches you can try today.Using A Headlight Restoration Kit
A headlight restoration kit is a convenient option. These kits come with all the necessary tools and materials. You’ll typically find sandpaper, a polishing compound, and a protective sealant. Start by cleaning your headlights thoroughly to remove any dirt. Follow the instructions on the kit for sanding and polishing. This process can take about 30 minutes per headlight. The results can be impressive, giving your headlights a clear, new look.Sanding And Polishing Technique
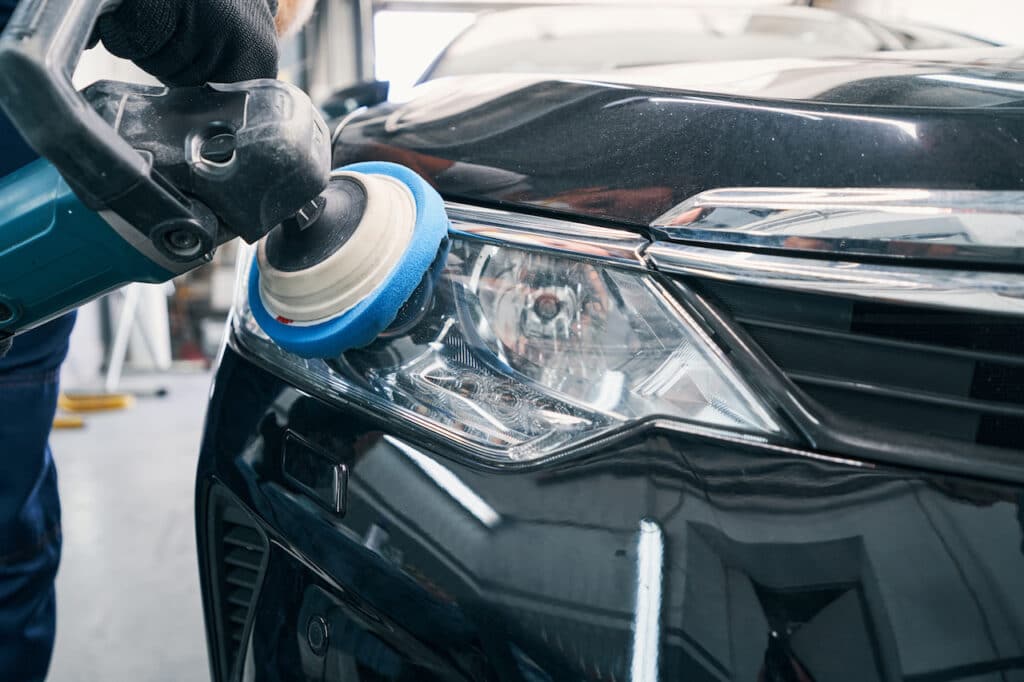
The sanding and polishing method can be more hands-on, but it’s effective. You’ll need sandpaper in different grits, a polishing compound, and a microfiber cloth. Start with a coarse grit to remove the outer layer of oxidation. Work your way to finer grits for a smooth finish. After sanding, apply the polishing compound to a clean cloth and buff the headlight. This technique requires a bit of elbow grease but can save you money.Homemade Solutions
Do you prefer a more DIY approach? Household items can come to the rescue. Toothpaste, for instance, is mildly abrasive and can help remove the cloudy layer. Apply it to the headlight with a cloth, scrub gently, and rinse with water. Another option is a mixture of baking soda and vinegar. This combo can break down grime effectively. Homemade solutions are budget-friendly and surprisingly efficient. Have you tried any of these methods before? If not, which one will you start with? Remember, restoring your headlights can enhance visibility, ensuring safer night drives.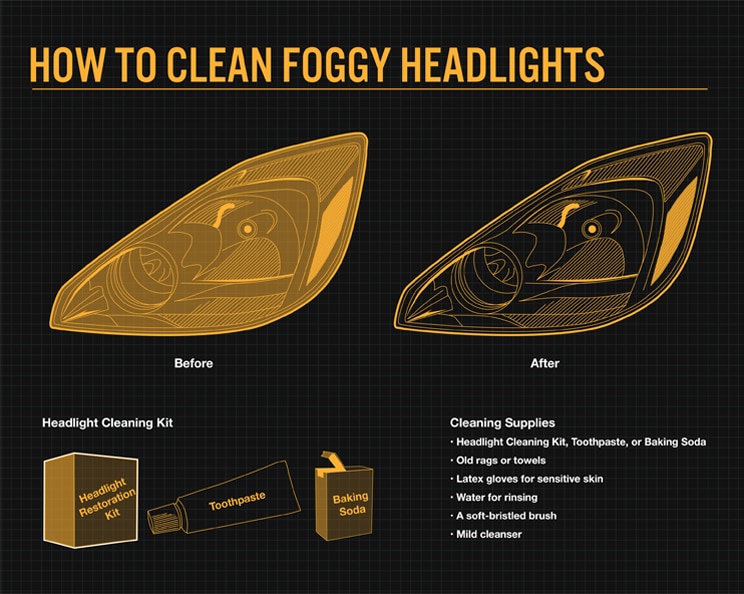
Credit: www.bridgestonetire.com
Protective Coatings
Headlights are exposed to harsh weather and UV rays. These elements can damage your headlights over time. Protective coatings guard against these harmful effects. They keep your headlights clear and bright. Investing in a protective layer is wise. It prolongs the life of your headlights.
Uv Sealant Application
UV sealants protect against harmful sun rays. They are easy to apply and effective. First, clean the headlights thoroughly. Ensure they are dry before applying the sealant. Use a soft cloth to spread the sealant evenly. Let it dry for a few hours. This creates a strong protective barrier.
Regular Maintenance Tips
Regular maintenance keeps your headlights in top shape. Clean them monthly with mild soap and water. Avoid abrasive materials that scratch the surface. Check the sealant every six months. Reapply if it seems worn or faded. Keeping headlights covered when parked outside helps too.
Troubleshooting Common Issues
Headlights are crucial for safe driving, especially at night or in foggy conditions. Over time, headlights may encounter issues that affect their performance. Let’s explore common problems and solutions to ensure your headlights shine brightly.
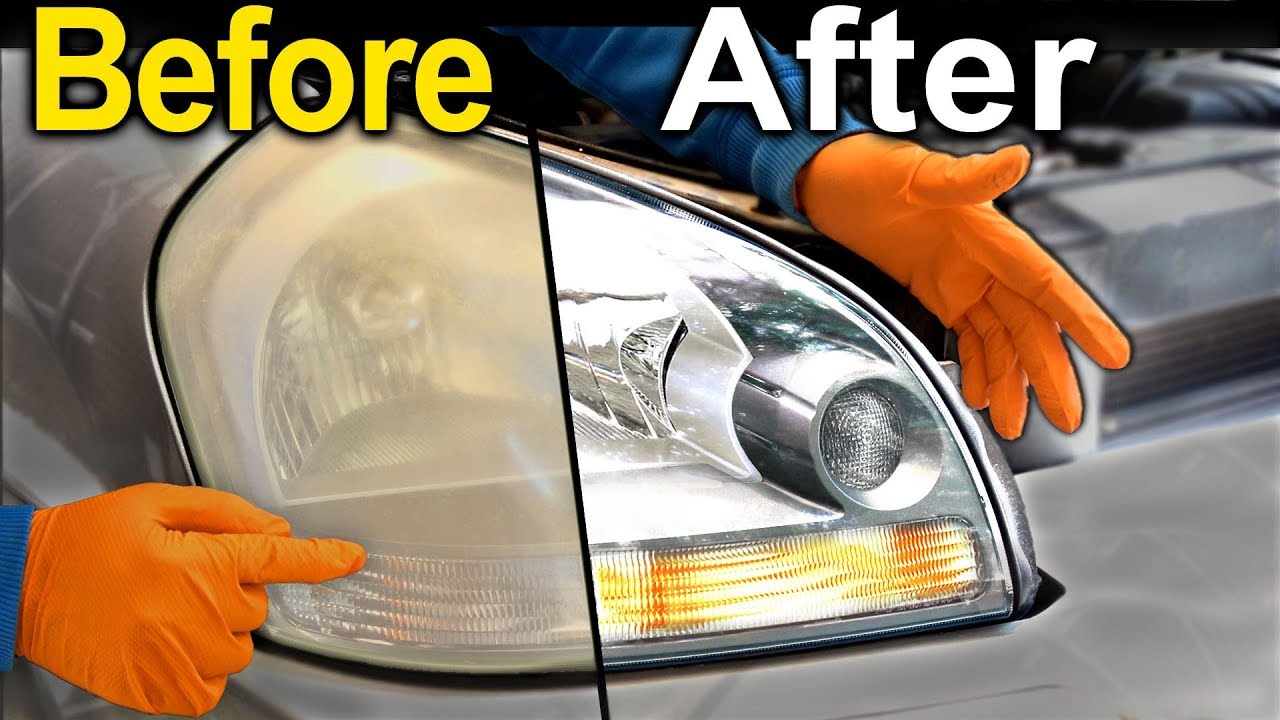
Dealing With Persistent Fog
Foggy headlights reduce visibility and safety. This haze often results from oxidation. To tackle this, start by cleaning the headlights with soap and water. Dry them thoroughly. Apply a commercial headlight restoration kit, following the instructions carefully. These kits typically include sanding and polishing compounds. If the fog persists, repeat the process. Regular maintenance can prevent fogging.
Addressing Deep Scratches
Scratches can diminish headlight clarity. Begin by inspecting the extent of the damage. For minor scratches, use toothpaste or baking soda mixed with water. Apply the mixture with a soft cloth, using circular motions. Rinse and dry the surface. For deeper scratches, consider using sandpaper. Start with a coarse grit and gradually move to a finer one. Finish with a polish to restore shine. Taking care of scratches enhances light output and safety.
Credit: valleycollision.com
Safety Precautions
Restoring your headlights can improve visibility and safety. But before you start, it’s important to take some precautions. Safety should always come first. This ensures a smooth restoration process without any accidents. Below are key safety measures to keep in mind.
Wearing Protective Gear
Always wear safety goggles to protect your eyes. Chemicals in cleaning agents can be harmful. Gloves are essential. They shield your hands from harsh substances. Avoid skin irritation by wearing long sleeves. This protects your arms from splashes.
Ensuring Proper Ventilation
Work in a well-ventilated area. This prevents inhaling toxic fumes. Open windows or use a fan. Fresh air circulation is crucial. Avoid confined spaces. They trap harmful chemicals and reduce air quality. Always prioritize your breathing safety.
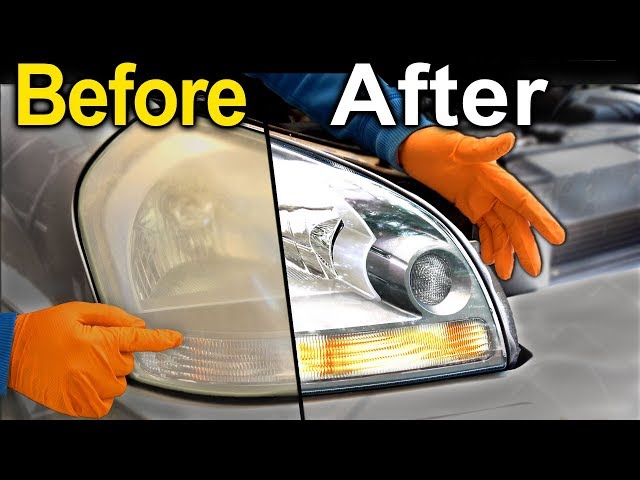
Credit: www.youtube.com
Frequently Asked Questions
Will Wd-40 Restore Your Headlights?
WD-40 can temporarily improve headlight clarity by removing grime. It won’t provide long-lasting restoration or permanent fix for foggy lenses. For best results, consider professional cleaning or restoration kits designed specifically for headlights. Regular maintenance ensures optimal performance and safety.
How Do I Make My Cloudy Headlights Clear Again?
Clean headlights with toothpaste and a microfiber cloth. Apply toothpaste, scrub gently, and rinse thoroughly. Dry completely for clarity.
Will Magic Eraser Restore Headlights?
Magic eraser can help restore headlights by removing surface grime and oxidation. Lightly scrub headlights with a damp magic eraser. For best results, use it in conjunction with a polishing compound. Regular maintenance may be required for long-lasting clarity.
What Is The Best Homemade Headlight Restorer?
Mix baking soda and vinegar to create a paste. Apply it to headlights using a soft cloth. Rub in circular motions, then rinse with water. This DIY method effectively removes grime and restores clarity, making it a popular choice for homemade headlight restoration.
Conclusion
Restoring headlights is simple and rewarding. Clear headlights improve your safety. Also, they enhance your car’s appearance. Regular cleaning prevents future damage. Gather basic supplies. Take your time. Follow each step carefully. Soon, your headlights will shine bright. No need for expensive services.
You can do it yourself. Feel proud of your work. Enjoy the clear view and safer drives. Remember, maintenance is key. Keep your headlights clean regularly. It saves money and ensures a safer journey. Happy driving with your newly restored headlights!

Automotive Specialist & Expert Mechanic
Noah Brooks is a skilled automotive expert with a passion for both the technical and creative aspects of the automotive world. With years of experience in repairing, restoring, and enhancing vehicles, Noah is known for his deep knowledge of car mechanics, parts, and accessories. His expertise extends to welding, troubleshooting, and offering advice on the latest car technologies and trends. Whether it’s diagnosing complex issues or guiding readers through DIY car repairs, Noah’s blog posts are filled with hands-on insights that appeal to both novice and experienced car enthusiasts. When he’s not writing, Noah is working on his own car projects, continually learning and sharing his automotive passion with the world.