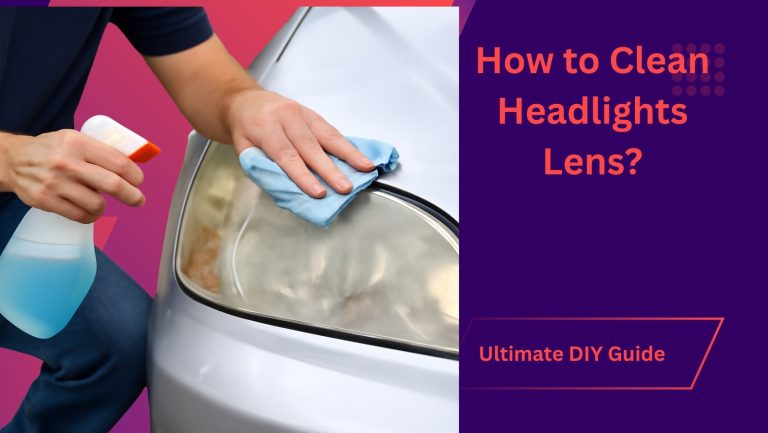
How to Clean Oxidation off Headlights: Ultimate Guide
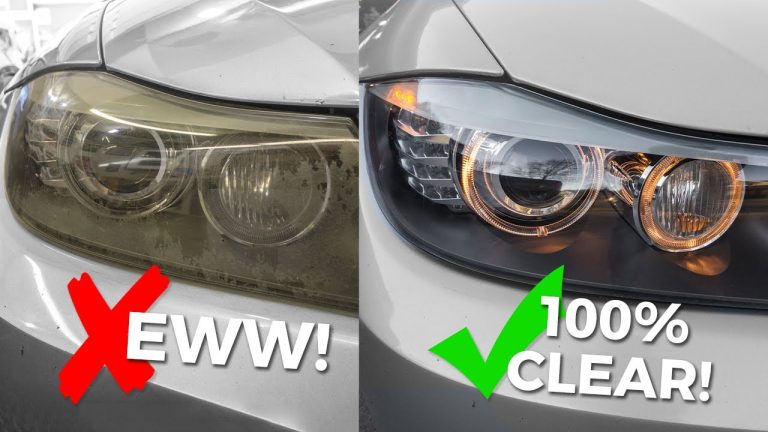
Are your car’s headlights looking cloudy and dull? Oxidation can turn clear, bright headlights into a hazy mess, making night driving less safe and leaving your vehicle looking older than it is.
Luckily, cleaning oxidation off your headlights is easier than you might think, and it can significantly improve the appearance and functionality of your car. Imagine driving with crystal-clear headlights, enhancing your safety on the road, and boosting your car’s curb appeal—all with a simple cleaning process you can do yourself.
You’ll discover straightforward steps to restore your headlights to their original shine. No need for expensive professional services or complicated tools. You’ll learn how to achieve a dramatic transformation with materials you likely already have at home. Get ready to say goodbye to foggy headlights and hello to a clearer, brighter drive. Dive in and find out how you can easily clean oxidation off your headlights and enjoy a safer, more stylish ride.
Credit: cleantools.net
Causes Of Headlight Oxidation
Sunlight and moisture cause headlight oxidation over time. This process leads to cloudy and yellowed headlights. Cleaning them restores clarity and improves visibility.
Headlight oxidation is a common problem that can significantly affect your car’s appearance and safety. Over time, you may notice your headlights becoming cloudy or yellow, reducing their effectiveness at night. Understanding what causes this issue can help you prevent it and maintain clear, bright headlights. Let’s dive into the main culprits of headlight oxidation.1. Exposure To Sunlight
The sun’s ultraviolet rays are a primary cause of headlight oxidation. When your vehicle is parked outside, these rays can break down the plastic material of the headlights over time. The result is a yellow, cloudy appearance that not only looks bad but also diminishes light output. Have you ever parked your car in the driveway on a sunny day and wondered why your headlights seem to age faster? UV exposure is the answer.2. Environmental Contaminants
Your car faces a barrage of environmental pollutants every day. Dust, dirt, and chemicals from the road can accumulate on headlight surfaces. These contaminants can etch into the plastic, furthering the oxidation process. Imagine your headlights as a shield; without regular cleaning, they become dull and ineffective.3. Weather Conditions
Rain, snow, and temperature fluctuations contribute to headlight oxidation. Moisture can seep into small cracks and crevices, accelerating the breakdown of the headlight material. If you’ve ever noticed your headlights looking worse after a long winter, it’s likely due to the harsh weather conditions your vehicle endured.4. Poor Maintenance
Neglecting regular car maintenance can also lead to headlight oxidation. Failing to clean your headlights and apply protective coatings can speed up the oxidation process. Do you remember the last time you cleaned your headlights? If not, it might be time to give them some attention. Consistent care can keep them clear and bright. Understanding these causes can help you take proactive steps to protect your headlights. Which of these factors do you think affects your car the most?Tools And Materials Needed
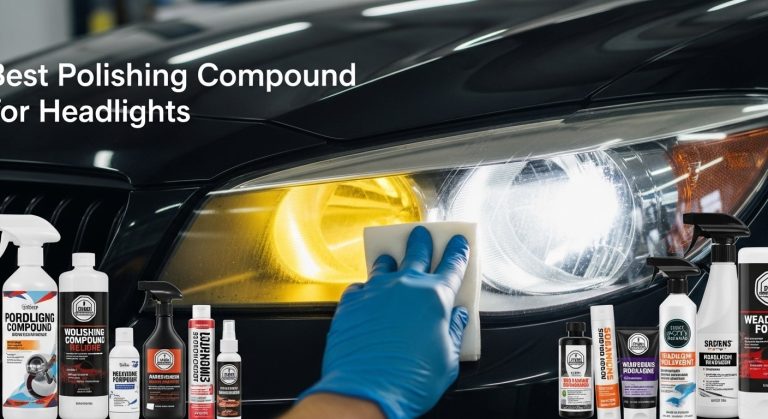
Cleaning headlights requires a few basic tools and materials. Gather a microfiber cloth, sandpaper, polishing compound, and UV sealant. A spray bottle with water and mild soap is also helpful.
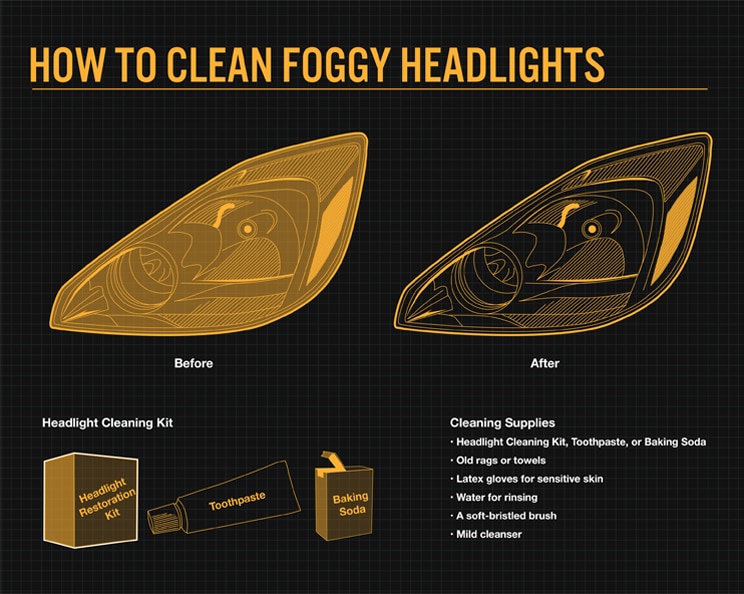
Cleaning oxidation off your headlights can dramatically improve the look of your vehicle and enhance night-time visibility. But before you jump into the cleaning process, it’s important to have the right tools and materials. Equipping yourself with the correct items ensures the job is done efficiently and effectively. Let’s break down what you’ll need to tackle this task with confidence.Essential Cleaning Supplies
The basics are often the most critical. You’ll need a few key items to get started: a plastic bucket, clean water, and a soft cloth or sponge. A spray bottle can be handy for applying cleaning solutions. These items are easy to find and form the foundation of your cleaning kit.Specialty Cleaning Agents
You might be surprised to learn that household items like toothpaste can be effective at removing oxidation. Alternatively, you can opt for store-bought headlight restoration kits, which often include a specialized cleaner. These kits can make the process smoother and more efficient.Polishing Tools
A microfiber cloth is essential for polishing the headlights after cleaning. Microfiber is gentle on surfaces and helps to avoid scratches. You can also use a polishing compound for a more thorough finish. This step ensures your headlights shine bright and stay protected.Protective Gear
Don’t forget about safety! Gloves can protect your hands from any harsh chemicals. If you’re using sprays, consider wearing a mask to avoid inhaling fumes. Safety goggles can be useful to keep any splashes out of your eyes.Optional Extras
For those wanting a professional finish, a headlight restoration kit often includes sandpaper or buffing pads. These tools help to smooth out any rough patches and provide a pristine surface. While not always necessary, they can make a notable difference.Why Bother?
Are you wondering if it’s worth the effort? Picture driving at night with crystal-clear headlights that illuminate the road. Clean headlights not only improve safety but also enhance the overall appearance of your vehicle. The process might seem daunting, but with the right tools, it’s a manageable task. So, are you ready to gather your supplies and give your headlights the attention they deserve? With the tools and materials in hand, you’re well on your way to restoring your headlights to their former glory.Step-by-step Cleaning Process
Oxidation on headlights can reduce visibility and safety. Restoring their clarity improves your nighttime driving experience. Follow these simple steps to clean the oxidation off your headlights efficiently.
Preparation And Safety Measures
Gather all necessary materials before starting. You will need a microfiber cloth, tape, sandpaper, and cleaning solutions. Safety glasses and gloves protect your eyes and skin. Park your car in a shaded area to prevent rapid drying. Ensure the car is off and the headlights are cool.
Applying Cleaning Solutions
First, tape the area around the headlights. This protects your car’s paint. Apply a generous amount of cleaning solution to the headlight. Use a microfiber cloth to spread it evenly. Let it sit for a few minutes. This softens the oxidation for easy removal.
Buffing And Polishing Techniques
Start with the finest grit sandpaper. Wet the sandpaper and headlight surface. Move in small, circular motions. Gradually increase to coarser grits for stubborn spots. Buff the headlight with a clean cloth after sanding. Use a polishing compound for extra shine.
Rinsing And Drying Tips
Rinse the headlights thoroughly with water. Remove all residue and cleaning solutions. Pat them dry with a clean microfiber cloth. Ensure no moisture is left behind. This prevents streaks and further oxidation. Your headlights should now be clear and bright.
Credit: www.bridgestonetire.com
Diy Vs Professional Cleaning
DIY cleaning of headlights can be cost-effective and rewarding, using vinegar or toothpaste for oxidation removal. Professional cleaning offers expert solutions and ensures headlights look brand new, often using specialized products. Both methods improve visibility and enhance vehicle safety.
Cleaning oxidation off headlights can greatly improve your vehicle’s appearance and safety. You face a choice between DIY methods and professional cleaning services. Each option has its advantages and drawbacks. Let’s explore these aspects to help you decide which suits your needs best.Cost Considerations
DIY cleaning is often more budget-friendly. Household items like toothpaste can be effective. Kits are available for purchase at reasonable prices. Professional services might be costly. Experts use specialized tools and products. Consider your budget before making a decision.Effectiveness Comparison
DIY methods can yield good results. They require patience and precision. Professionals offer more consistent outcomes. They have experience and access to advanced tools. DIY might not remove all oxidation. Professional cleaning typically restores headlights to near-new condition.Time Investment
DIY cleaning requires time and effort. You need to gather materials and follow instructions carefully. Some methods take longer to show results. Professional services are quicker. Experts complete the process efficiently. Consider how much time you can dedicate to the task.Preventing Future Oxidation
Headlights can become dull due to oxidation, affecting visibility. Regular cleaning with baking soda and vinegar can help. Apply the mixture, scrub gently, and rinse to restore clarity.
Preventing the future oxidation of your headlights is essential to maintain their clarity and ensure safety during night driving. If you’ve just cleaned off that pesky yellowing, you might be wondering how to keep those headlights looking brand new. The good news is that with a little care and the right techniques, you can preserve their shine and functionality for longer.Protective Coatings
Applying a protective coating to your headlights can be a game-changer. These coatings act as a shield, protecting against UV rays and environmental damage. You might have heard of ceramic coatings, which are popular for cars. Ceramic coatings can be applied to headlights too. They form a durable layer that resists oxidation. You can find headlight-specific products at most auto shops. For those who love DIY projects, clear spray paint designed for headlights is an affordable option. Ensure it’s UV-resistant to maximize protection. A friend of mine used it on her car, and months later, her headlights still look stunning.Regular Maintenance Tips
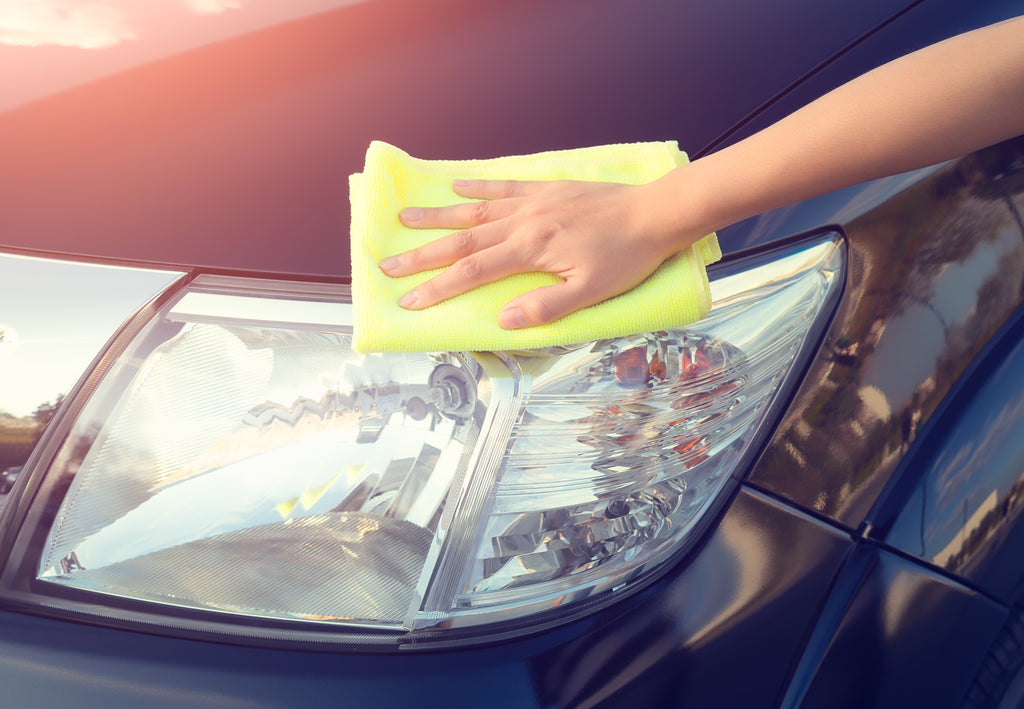
Regular maintenance is your best ally in preventing oxidation. Clean your headlights every few weeks, even if they don’t look dirty. Dirt and grime can accelerate the oxidation process. Use a soft cloth and mild soap to gently wipe the surface. Avoid harsh chemicals that can damage the protective layers. Park your car in the shade or a garage whenever possible. This minimizes exposure to direct sunlight, which is a primary cause of oxidation. I learned this the hard way after leaving my car outside for a summer. Consider setting a reminder on your phone to check your headlights monthly. This simple step can save you time and money in the long run. Are you treating your headlights with the care they deserve? Taking small, consistent actions can make a big difference. By investing in protection and regular upkeep, you ensure safer and more enjoyable drives.
Credit: www.youtube.com
Frequently Asked Questions
How Do You Clean Heavily Oxidized Headlights?
Clean heavily oxidized headlights using a mixture of baking soda and water. Apply with a soft cloth, scrubbing gently. Rinse with water and dry thoroughly. For stubborn oxidation, use a headlight restoration kit from an auto store. Regular maintenance prevents future oxidation, ensuring clear and bright headlights.
Will Wd-40 Remove Oxidation From Headlights?
WD-40 can help remove oxidation from headlights temporarily. Clean the surface with WD-40, then wipe it off. For long-lasting results, use a headlight restoration kit. Regular maintenance prevents oxidation.
Does Vinegar Remove Oxidation From Headlights?
Yes, vinegar can help remove oxidation from headlights. Mix vinegar with baking soda to create a paste. Apply the paste to headlights and scrub gently. Rinse with water and dry to restore clarity. For best results, repeat if necessary and consider sealing with a UV protectant.
Does Magic Eraser Work On Headlights?
Yes, a magic eraser can clean and restore headlight clarity. It removes oxidation, dirt, and grime effectively. Use it gently to avoid scratching. Always follow up with a headlight protectant to maintain the finish. Regular maintenance ensures headlights remain clear and bright.
Conclusion
Cleaning oxidation off headlights is simple and effective. Clear headlights boost visibility. They make night driving safer. Regular maintenance keeps them bright. Use common household items. Save money on expensive products. Follow easy steps for best results. Check headlights often for signs of wear.
Keep them clean for longer life. Don’t let oxidation dull your lights. A little effort goes a long way. Enjoy safer, clearer journeys. Bright headlights make a big difference. Keep your headlights shining bright. Drive with confidence every time. Enjoy the road ahead with clear vision.

Automotive Specialist & Expert Mechanic
Noah Brooks is a skilled automotive expert with a passion for both the technical and creative aspects of the automotive world. With years of experience in repairing, restoring, and enhancing vehicles, Noah is known for his deep knowledge of car mechanics, parts, and accessories. His expertise extends to welding, troubleshooting, and offering advice on the latest car technologies and trends. Whether it’s diagnosing complex issues or guiding readers through DIY car repairs, Noah’s blog posts are filled with hands-on insights that appeal to both novice and experienced car enthusiasts. When he’s not writing, Noah is working on his own car projects, continually learning and sharing his automotive passion with the world.