How to Fix at Light on Mazda 3: Quick Solutions
Have you ever been in a situation where your Mazda 3’s dashboard suddenly lights up with a mysterious warning? It can be both confusing and alarming, leaving you wondering what went wrong.
But don’t worry, you’re not alone, and fixing that light might be easier than you think. This guide is here to help you unravel the mystery and show you how to fix that pesky light on your Mazda 3. With simple steps and clear explanations, you’ll gain the confidence to tackle the issue head-on.
Stay with us, and discover how you can save time and avoid unnecessary trips to the mechanic.
Common Light Issues
Common light issues in a Mazda 3 can cause drivers concern. These issues often indicate underlying problems needing attention. Understanding these common light issues helps you address them efficiently. Let’s explore two main categories: dashboard warning lights and exterior light malfunctions.
Dashboard Warning Lights
Dashboard warning lights provide crucial information about your Mazda 3’s health. Ignoring them can lead to more significant problems. One common issue is the check engine light. This light indicates engine or emission system troubles. Another frequent concern is the oil pressure warning light. Low oil pressure can damage the engine. Ensure oil levels are adequate and the oil pump functions correctly. Tire pressure warning lights also appear regularly. They signal low tire pressure, affecting fuel efficiency and safety. Regularly check tire pressure to prevent this issue.
Exterior Light Malfunctions
Exterior light malfunctions compromise safety during night driving. A common issue is headlight bulb burnout. This reduces visibility and can lead to accidents. Replacing the bulb promptly restores visibility. Taillight issues also occur often. They alert other drivers when you brake or turn. Check for blown fuses or wiring problems if taillights fail. Turn signal malfunctions create confusion for other drivers. Ensure bulbs and connectors are intact for proper function. Regular inspection and maintenance help prevent these exterior light issues.

Credit: www.youtube.com
Checking The Fuse Box
When your Mazda 3’s light stops working, a common culprit could be a blown fuse. Checking the fuse box is a straightforward solution that might just save you a trip to the mechanic. This process is not only simple but also empowering, giving you a sense of accomplishment. Imagine the satisfaction of fixing the problem yourself without breaking a sweat!
Locating The Fuse Box
First, you need to locate the fuse box in your Mazda 3. It’s typically found under the dashboard on the driver’s side or in the engine compartment. If you’re unsure, refer to your owner’s manual. The manual often includes diagrams and can be your best friend during this process.
Some Mazda 3 models have a secondary fuse box inside the cabin. Keep an eye out for a small panel, which might be hiding behind a compartment door. Once located, carefully remove the cover to reveal the fuses inside. Are you feeling a bit like a detective yet?
Replacing A Blown Fuse
Now, let’s talk about replacing a blown fuse. Start by inspecting the fuses visually. A blown fuse usually has a broken wire or a cloudy appearance within the plastic casing. If you spot such a fuse, it’s time to replace it.
Before you remove it, check the amperage rating on the fuse. It’s crucial to replace it with a fuse of the same rating to avoid electrical issues. Use a fuse puller or a pair of tweezers to remove the faulty fuse. Have a replacement ready—it’s always wise to keep a few spare fuses handy.
Insert the new fuse carefully and ensure it’s seated properly. Once done, test the light to see if it’s working again. Isn’t it rewarding to see the light back on? You’ve just added a handy skill to your toolkit!
Remember, if the fuse blows again immediately, there might be a deeper electrical issue that needs professional attention. But for now, you’ve tackled the problem head-on, like a pro.
Inspecting Bulbs
When your Mazda 3’s lights start acting up, inspecting the bulbs should be your first step. It’s a straightforward process that can save you time and money. You’ll be surprised how often a simple bulb change can solve the problem. But how do you know which bulb needs attention? Let’s dive into the specifics of checking and replacing your headlight and tail light bulbs.
Headlight Bulb Replacement
Headlights are crucial for driving safely, especially at night. To inspect your Mazda 3’s headlight bulbs, start by turning off the car and opening the hood. Look for the back of the headlight assembly—it’s typically secured with clips or screws.
Once you’ve accessed the bulb, check its condition. Is it visibly burned out? If yes, it’s time to replace it. You can easily find compatible bulbs at auto parts stores or online. Always ensure your hands are clean or wear gloves; oils from your skin can shorten the bulb’s life.
Have you ever driven home in the dark, squinting to see the road? A fresh bulb can transform that experience. A simple change might make your night drives safer and stress-free.
Tail Light Bulb Issues
Tail lights are equally important—they keep you visible to drivers behind you. If your tail lights are not working, you may need to inspect the bulbs. Accessing them usually involves opening the trunk and locating the bulb housing.
Check if the bulbs are intact or discolored. A blown bulb often appears darkened or broken. Replace it with a new one, ensuring it fits securely in its socket. Sometimes, a loose bulb can cause flickering.
Have you ever been stopped by a police officer due to a faulty tail light? Avoid that hassle by doing regular checks. It’s a small step that ensures you’re always safe and visible on the road.
Inspecting bulbs on your Mazda 3 doesn’t require expert skills. It’s a practical task you can tackle confidently. So, are your lights in top condition? If not, you know what to do!
Credit: www.reddit.com
Wiring And Connections
Dealing with a faulty light on your Mazda 3 can be frustrating. The issue often lies within the wiring and connections. Understanding these components is crucial for effective troubleshooting. Proper wiring ensures a smooth flow of electricity. Connections must be secure to prevent interruptions. Let’s explore how to identify and fix these common problems.
Spotting Loose Connections
Loose connections can cause intermittent lighting issues. Start by inspecting the wiring harness. Look for any wires that seem out of place. Gently tug on each wire to check for firmness. Loose wires often result from vibrations or impacts. Secure any loose connections with a snug fit. This will restore stability and improve light functionality.
Addressing Corroded Wires
Corroded wires disrupt electrical flow. Rust and moisture can deteriorate wire surfaces. Inspect all visible wires for signs of corrosion. Brown or green residue indicates corrosion. Carefully clean these areas with a wire brush. Apply a corrosion-resistant sealant to prevent future damage. Regular maintenance prevents corrosion from affecting your Mazda 3 lights.
Battery And Alternator Check
Experiencing an illuminated dashboard light in your Mazda 3 can be frustrating. Often, this issue is linked to the battery and alternator. Ensuring these components are in good condition is crucial. They power your vehicle’s electrical system and keep your car running smoothly.
Testing The Battery
Begin by inspecting the battery terminals. Look for any corrosion or damage. Clean them if necessary. Use a multimeter to test the battery voltage. A healthy battery should read around 12.6 volts. If it reads below this, it might be time for a replacement. Check the battery age. Batteries older than three years may need replacing.
Alternator Functionality
The alternator charges the battery and powers electrical systems. Start your car and let it idle. With the multimeter, test the voltage at the battery terminals. A functioning alternator should show 13.8 to 14.4 volts. If readings are lower, the alternator might be faulty. Listen for unusual noises from the alternator. Grinding or whining sounds indicate issues.
Credit: www.cargurus.com
Using Diagnostic Tools
Using diagnostic tools can help fix the light on your Mazda 3. These tools allow you to identify the problem quickly. They save you time and ensure accurate repairs. Understanding how to use these tools is essential for car owners.
Obd-ii Scanner Use
An OBD-II scanner is a vital tool for diagnosing car issues. Plug it into the port beneath the dashboard. Turn on the ignition to start the scanning process. The scanner will read the car’s computer system. It retrieves error codes that indicate specific problems.
Interpreting Error Codes
Interpreting error codes is the next step after scanning. Each code corresponds to a particular issue. The scanner’s manual or online resources can help decode these numbers. Knowing what the codes mean helps in deciding the next steps. It might be a simple fix or require professional help.
Seeking Professional Help
Fixing a light on your Mazda 3 can be tricky. Sometimes, professional help is the best option. Experts ensure safe and correct repairs. This saves you time and potential future issues. Not all problems can be DIY-ed. Some require special tools or knowledge.
When To Visit A Mechanic
Visit a mechanic if the problem persists. Complex electrical issues often need expert hands. If you notice flickering or dim lights, it’s time. Unusual noises or smells? Seek help. A mechanic can diagnose the issue quickly.
Choosing A Reliable Service
Choose a service with a good reputation. Ask for recommendations from friends or family. Read reviews online for insights. Look for certified technicians. They have the training to handle Mazda vehicles. Check if they offer warranties on repairs. This ensures quality work. Compare prices for the best value. But don’t go for the cheapest. Quality service is worth the cost.
Frequently Asked Questions
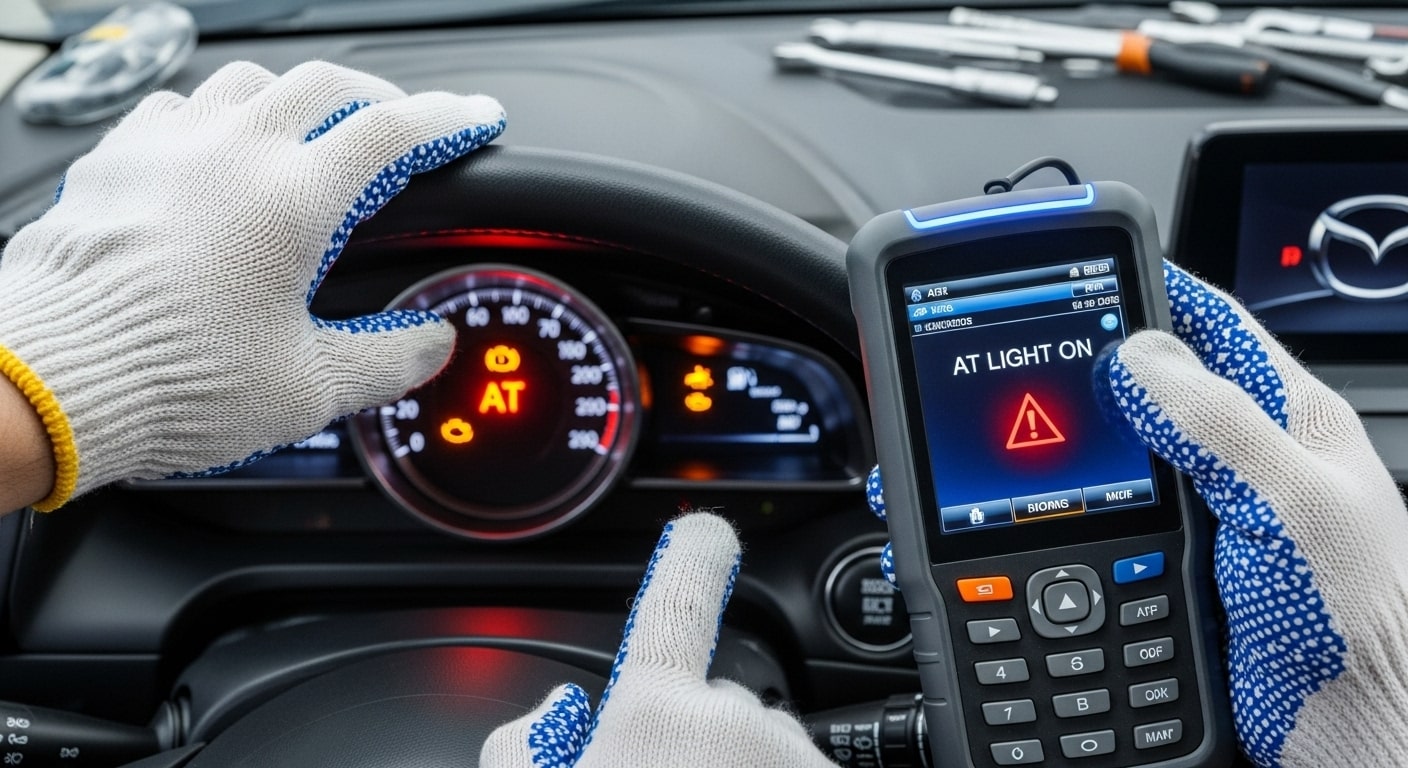
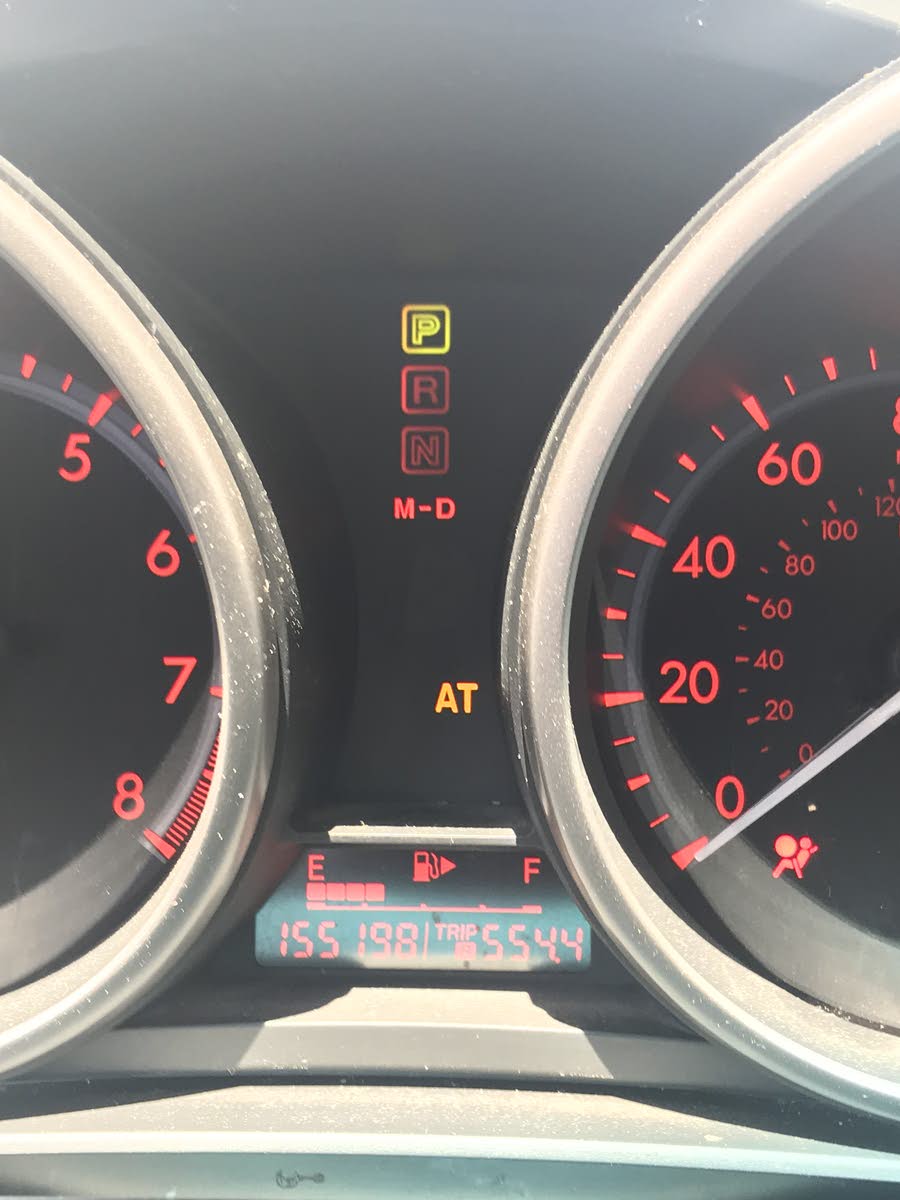
Why Is The At Light On In My Mazda3?
The AT light in your Mazda3 signals transmission issues. Check fluid levels or seek professional diagnosis promptly. It might indicate overheating, electrical problems, or a need for maintenance. Ignoring it can lead to severe damage. Addressing it quickly ensures smooth driving and avoids costly repairs.
What Does The At Symbol Mean On A Mazda3?
The AT symbol on a Mazda3 stands for “Automatic Transmission. ” It indicates the vehicle is equipped with an automatic gearbox.
What Causes The At Light To Come On?
The AT light may indicate transmission issues, low transmission fluid, or sensor problems. Consult a professional mechanic for diagnosis.
How To Fix Automatic Transaxle Warning Light?
Check fluid levels and top up if needed. Inspect for leaks or damage. Reset the warning light using a scan tool. Consult a mechanic if issues persist. Regular maintenance prevents future problems.
Conclusion
Fixing a light on your Mazda 3 is simple and rewarding. You save money and learn valuable skills. Start with checking the bulb and fuses. Often, these are the main issues. Replace any damaged parts carefully. Ensure all connections are tight and secure.
Test the light before driving. This ensures safety on the road. Remember to consult your manual for guidance. Always keep spare bulbs in your car. Practice makes perfect, so don’t hesitate to try. Enjoy the satisfaction of DIY car maintenance.

Ethan Montgomery is the administrator of carweldhub.com and an expert in the automotive industry. With hands-on experience in welding and a deep understanding of automotive parts and accessories, Ethan brings a wealth of practical knowledge to his work. His passion for the automotive field extends to blog writing and editing, where he shares valuable insights and tips with enthusiasts and professionals alike. Whether you’re looking for detailed technical advice or the latest trends in automotive technology, Ethan’s expertise makes him a trusted resource in the automotive community.