How to Remove Dash Cam from Windshield: Simple Steps
Are you finding it tricky to remove your dash cam from the windshield? You’re not alone.
Whether you’re upgrading to a new model or simply repositioning it for a better view, detaching a dash cam can be a bit daunting. But worry not. This guide will walk you through the process step-by-step. By the end, you’ll feel confident handling your dash cam like a pro.
Imagine the peace of mind knowing you can easily move or replace it whenever you want. Stay with us, and let’s make sure your dash cam removal is a smooth and stress-free experience.
Necessary Tools
Removing a dash cam from your windshield requires specific tools. Choosing the right ones makes the task easier and safe for your car. You don’t want to damage your windshield in the process.
Essential Tools For Removal
You’ll need a plastic pry tool. This prevents scratches on the glass. It’s gentle and effective for loosening the adhesive. Avoid metal tools as they can cause damage.
Cleaning Supplies
Keep some glass cleaner handy. It helps remove any leftover adhesive. A clean windshield is crucial for visibility and aesthetics.
Adhesive Remover
An adhesive remover is essential. It tackles stubborn residue left by the dash cam mount. Choose a product safe for glass surfaces.
Microfiber Cloth
Use a microfiber cloth to wipe the area clean. It’s soft and won’t scratch the glass. Ideal for a smooth finish after removal.
Safety Precautions
Carefully detach the dash cam from the windshield to avoid damage. Use gentle force and a plastic card to loosen the adhesive. Ensure the vehicle is off and parked safely before beginning the removal process.
Removing a dash cam from your windshield may seem like a simple task, but it’s essential to prioritize safety during the process. It’s not just about keeping your car and gadgets intact—your personal safety is paramount. Imagine the frustration of damaging your windshield or the device itself because of a simple oversight. Let’s ensure that doesn’t happen by following these safety precautions.
Turn Off And Unplug The Dash Cam
Before you start, make sure the dash cam is turned off and unplugged. This prevents any electrical shocks or accidental data loss. Remember, many dash cams have a battery that retains a charge even when the car is off, so give it a moment to discharge.
Wear Protective Gear
Consider wearing gloves to protect your hands from any sharp edges or glass fragments. It’s easy to get a small cut when you’re focused on detaching devices. Plus, gloves provide a better grip, minimizing the risk of dropping the dash cam.
Avoid Applying Excessive Force
Pulling too hard on the dash cam can crack your windshield or damage the camera. Gently wiggle the device to loosen it if it’s stuck. Use a plastic tool if necessary, as metal tools might scratch the glass.
Check For Hidden Wires
Dash cams often have wires tucked away under your car’s trim or headliner. Ensure all wires are free before removing the cam. This prevents pulling on wires, which can cause them to snap or damage your car’s interior.
Ensure A Stable Position
Make sure you’re in a comfortable and stable position when removing the dash cam. This helps prevent slipping and the risk of injury. A sturdy step stool might be useful if you need to reach higher.
Keep Your Surroundings Safe
Be mindful of your surroundings while working inside the car. Clear any clutter that might cause you to trip. If you’re working in a confined space, ensure there’s adequate ventilation and light. Remember, safety is not just about avoiding accidents but also about maintaining your equipment. Have you ever tried removing a dash cam without these precautions? How did it go? By following these steps, you can protect yourself and your equipment, ensuring a smooth removal process.
Power Off The Dash Cam
Removing a dash cam from your windshield involves a few careful steps. The first and crucial step is powering off the dash cam. This ensures safety and prevents any loss of data during removal. Follow this guide to safely power off your device before proceeding with the removal process.
Turn Off The Dash Cam
Locate the power button on your dash cam. Press it to turn off the device. Some models may require holding the button for a few seconds. Ensure the screen goes blank, indicating it is powered off completely.
Disconnect Power Cables
Check the power source of your dash cam. It might be connected to your car’s cigarette lighter socket or USB port. Carefully unplug the cable to ensure no power is running through the device.
Remove The Memory Card
Access the memory card slot, usually found on the side or back of the dash cam. Eject the card gently to prevent damage. Store the memory card safely, as it contains important recordings.
Unplug Power Supply
Start by unplugging the dash cam’s power supply to ensure safety. Gently detach the device from the windshield mount. Carefully store the dash cam to avoid damage.
Unplugging the power supply is a crucial step when removing a dash cam from your windshield. This simple action ensures that there’s no electrical connection, safeguarding both you and the device. You might be surprised at how easy this task is, and it’s an essential part of dash cam maintenance that can prevent potential damage.
Locate The Power Cable
First, find the power cable connected to your dash cam. It’s usually routed along the windshield and tucked under the car’s interior lining or dashboard. A quick glance should help you identify it.
Assess The Connection
Check how the cable is connected. Is it plugged into the car’s cigarette lighter, or does it connect directly to the fuse box? Knowing this helps you plan your next move efficiently.
Disconnect Safely
Gently unplug the cable from its power source. If it’s connected to the cigarette lighter, simply pull it out. If it’s wired to the fuse box, you might need to unclip or unscrew it.
Secure Loose Wires
After unplugging, ensure no wires are dangling. Use cable ties or tape to secure them neatly. This prevents any interference with your driving and keeps your car tidy.
Test For Power
Try turning on the dash cam to ensure it’s no longer powered. This confirms you’ve successfully disconnected it and can safely proceed with removal. Removing the power supply is not just a technical step; it’s a practice of safety and efficiency. Have you ever wondered why some dash cams malfunction? Often, it’s because of improper handling during removal. By ensuring the power is off, you maintain the integrity of the device and your vehicle.
Detach Mounting Bracket
Detaching the mounting bracket of your dash cam is a crucial step in removing it from the windshield. It might seem daunting, but with the right approach, it can be a straightforward task. Whether you’re upgrading your dash cam or repositioning it for a better view, understanding the mount type is essential. Let’s explore the types of mounts and how to detach them effectively.
Types Of Mounts
Dash cams typically come with either suction cup mounts or adhesive mounts. Suction cup mounts offer flexibility, allowing for easy repositioning. Adhesive mounts, on the other hand, provide a more permanent solution, ensuring stability even on bumpy roads. Knowing your mount type is the first step in detaching it safely.
Removing Suction Cup Mount
Removing a suction cup mount is often a breeze. Start by gently lifting the tab or edge of the suction cup. This releases the vacuum seal, making it easier to detach. If the suction cup feels stubborn, a slight twist can help. Don’t pull too hard, as that might damage your windshield or the mount itself. Ever had a suction cup stick so hard, you felt it was permanently glued? A simple twist usually does the trick.
Detaching Adhesive Mount
Adhesive mounts require a bit more patience. Begin by warming the adhesive with a hairdryer. This softens the glue, making it easier to peel off. Use a plastic card or spatula to gently lift the edges. Avoid using metal tools, as they can scratch the glass. Have you ever thought about how heat can be your ally in removing stubborn adhesives? It can save you from a sticky situation.
Detaching your dash cam’s mounting bracket doesn’t have to be a hassle. Consider how these tips can simplify the process and keep your windshield in perfect condition. What’s your go-to method for removing a mount? Share your thoughts and experiences below!
Credit: support.nextbase.com
Clean Residue
Removing a dash cam from your windshield? Start by unplugging it and gently detaching the mount. Use a soft cloth with rubbing alcohol to clean any adhesive residue.
Cleaning residue after removing a dash cam from your windshield is crucial for maintaining clear visibility. This step often gets overlooked, but it makes a significant difference. Without proper cleaning, adhesive remnants can obscure your view or attract dust and dirt.
Identify The Residue Type
Start by figuring out what kind of residue you’re dealing with. Is it sticky adhesive or just some dust? Knowing this helps you choose the right cleaning method. Sticky residues often require a more robust approach, while dust can be wiped away easily.
Gather Your Cleaning Supplies
You’ll need a few basic items: a microfiber cloth, glass cleaner, and possibly some adhesive remover. A little isopropyl alcohol can also work wonders. It’s always a good idea to have these on hand for regular windshield maintenance.
Use A Microfiber Cloth
Microfiber cloths are your best friend in this task. They are gentle on glass surfaces and incredibly effective at picking up small particles. Use a dry microfiber cloth first to remove any loose debris.
Apply Glass Cleaner
Spray a small amount of glass cleaner on the affected area. Let it sit for a moment to loosen the residue. Then, wipe it away using the microfiber cloth. Remember to use circular motions for the best results.
Try Isopropyl Alcohol For Stubborn Residue
If the glass cleaner doesn’t do the job, try a dab of isopropyl alcohol. It’s excellent for breaking down tougher adhesives. Apply it sparingly and wipe it off immediately to prevent streaking.
Consider An Adhesive Remover
For really stubborn residue, you might need a commercial adhesive remover. Make sure it’s safe for glass surfaces. Follow the instructions on the product for best results.
Inspect Your Work
Once you’ve cleaned the area, take a step back and inspect your work. Is there any residue left? If so, repeat the cleaning process. A clear windshield is vital for safe driving.
Maintain Regular Cleaning
Make cleaning your windshield a regular habit. It helps prevent buildup and keeps your view crystal clear. Plus, it makes future dash cam installations easier. Cleaning residue might seem like a small task, but it plays a big role in your overall driving experience. Have you checked your windshield lately? Take a moment to see if it needs a little TLC.
Inspect The Dash Cam
Removing a dash cam from the windshield starts with a careful inspection. Understanding the setup is crucial before detaching it. This ensures a smooth removal without damage.
Begin by examining the dash cam’s mount and wiring. Check for any screws or clips. This will help identify the tools needed for removal. Also, look for any adhesive used to attach the camera.
Examine The Mounting Mechanism
Most dash cams have either a suction cup or adhesive mount. For suction cups, locate the release tab. Press it to detach the cam. If adhesive, note the type and strength.
Check For Visible Wires
Trace any wires connected to the dash cam. Determine if they are removable. Some might plug into the car’s power source. Ensure wires aren’t tangled or trapped.
Identify Any Screws Or Clips
Look closely for screws or clips securing the dash cam. Use a suitable screwdriver to loosen them. This makes removing the cam easier and prevents scratches.
Assess The Adhesive Type
If adhesive holds the dash cam, check its condition. Old adhesive might peel away easily. For stronger adhesive, consider using a gentle heat source. This softens the adhesive and eases removal.
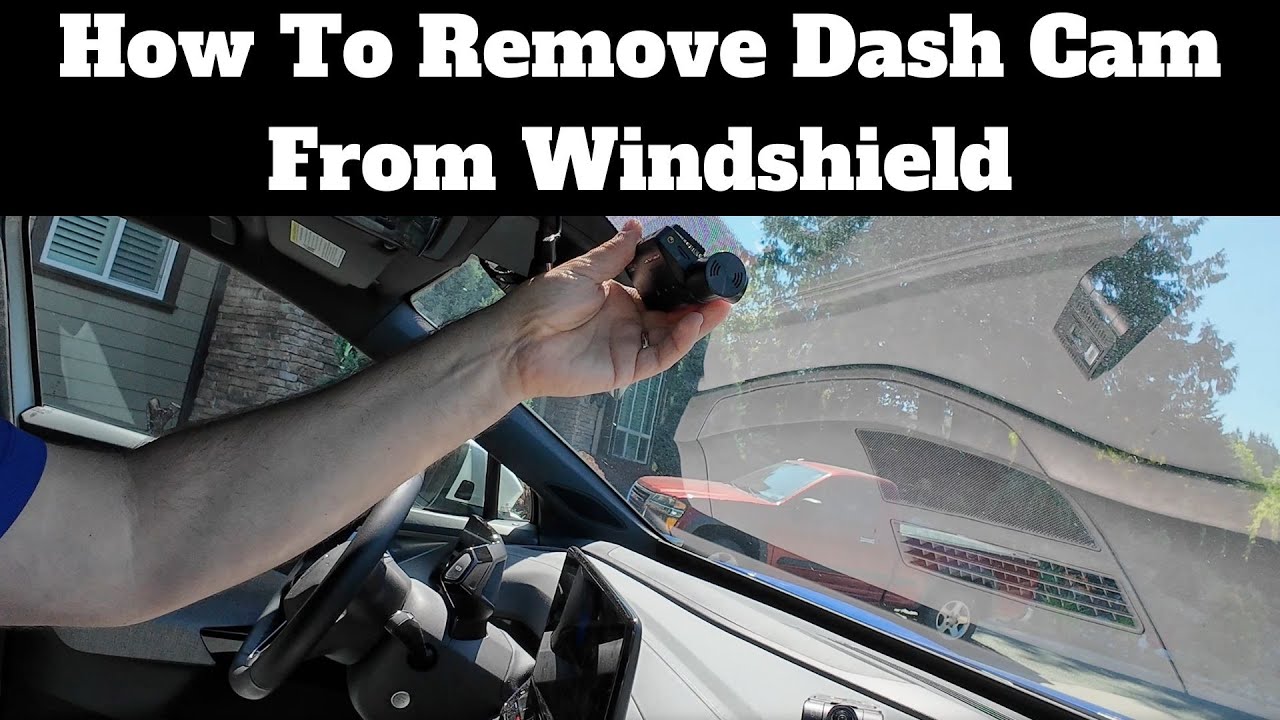
Credit: www.youtube.com
Reattach Or Store Safely
Once you’ve successfully removed your dash cam from the windshield, you might be wondering what to do with it next. Should you reattach it immediately or store it safely until your next trip? This decision often depends on your daily driving habits and the purpose of your dash cam. Let’s delve into how you can make the best choice for your situation.
Reattach Your Dash Cam
If you’re someone who drives frequently or relies on your dash cam for safety, reattaching it might be your best bet. Ensure that the windshield is clean before reattaching. This helps the suction mount stick better.
Consider the placement of your dash cam. Position it where it won’t obstruct your view but still captures the road effectively. You want it to be secure but not in the way.
Test your dash cam once it’s back in place. Make sure it’s functioning properly and capturing footage as expected. This is crucial for reliability.
Store Safely
Perhaps you’re planning a long period without driving or prefer to use your dash cam only during specific trips. In this case, storing it safely is wise. Wrap the dash cam in a soft cloth to prevent scratches.
Find a dry, cool place to store it. Humidity can damage the electronics, so avoid places like basements or garages. Keep it away from direct sunlight too.
Label the storage spot or box. This way, you can easily locate your dash cam when needed. It’s practical and saves you time.
Consider Your Needs
Your decision to reattach or store your dash cam should reflect your driving habits. Do you drive daily or only on weekends? Is your dash cam essential for security?
Think about how often you review footage. If you rarely look at recordings, storing might be suitable. But frequent users will benefit from keeping it attached.
Ultimately, the choice depends on what works best for you. How do you prioritize your dash cam usage?
By considering these factors, you can decide whether to reattach or store your dash cam safely. Your dash cam is a valuable tool, so treat it with care to ensure it serves you well.
Credit: www.reddit.com
Frequently Asked Questions
How To Remove Dash Cam Off Windshield?
Gently detach the dash cam by sliding or twisting it off the mount. Use a plastic scraper to loosen adhesive. Clean any residue with glass cleaner and a microfiber cloth. Avoid using sharp objects to prevent damage to the windshield.
How To Remove Suction Mount From Windshield?
To remove a suction mount from a windshield, gently pull the tab or edge of the suction cup. Use a plastic card or tool to break the seal. Clean any residue with a mild cleaner and soft cloth. This prevents damage and keeps the glass surface clear.
How To Take Off An Adhesive Mount?
Gently heat the adhesive mount with a hairdryer to soften it. Use dental floss or a plastic card to slide under the edge. Slowly lift and peel the mount off. Clean any residue with rubbing alcohol or adhesive remover. Avoid using sharp objects to prevent damage.
How To Remove Dashcam From Windshield Reddit?
To remove a dashcam from the windshield, gently pry it off using a plastic tool. Detach any wires carefully. Clean adhesive residue with rubbing alcohol. Ensure not to damage the glass or dashcam.
Conclusion
Removing a dash cam from your windshield is simple. Just follow these steps. Start by turning off the dash cam. Then, gently detach the adhesive or suction mount. Be careful not to damage the windshield. Use a plastic card to help lift stubborn mounts.
Clean the glass with a soft cloth. Ensure no residue remains. This keeps the windshield clear. Now, your dash cam is safely removed. Remember to store it properly. Always handle with care to avoid damage. With practice, this task gets easier.
Happy driving!

Automotive Specialist & Expert Mechanic
Noah Brooks is a skilled automotive expert with a passion for both the technical and creative aspects of the automotive world. With years of experience in repairing, restoring, and enhancing vehicles, Noah is known for his deep knowledge of car mechanics, parts, and accessories. His expertise extends to welding, troubleshooting, and offering advice on the latest car technologies and trends. Whether it’s diagnosing complex issues or guiding readers through DIY car repairs, Noah’s blog posts are filled with hands-on insights that appeal to both novice and experienced car enthusiasts. When he’s not writing, Noah is working on his own car projects, continually learning and sharing his automotive passion with the world.